
Embedded Product Development Life Cycle: Key Steps Explained
Embedded systems are the brains behind the modern connected world, from smart thermostats to industrial control units and wearable health monitors. These tiny, specialized computing systems power the devices we rely on every day—and the way they’re built is evolving fast.
If you’re a product manager, engineer, or startup founder working on IoT products or embedded software solutions, understanding the embedded product development life cycle is essential. This isn’t just about writing firmware—it’s about planning, designing, building, testing, and launching a complete, reliable, and scalable device.
Let’s break down the full process into four clear, practical stages so you know what to expect—and how to do it right.
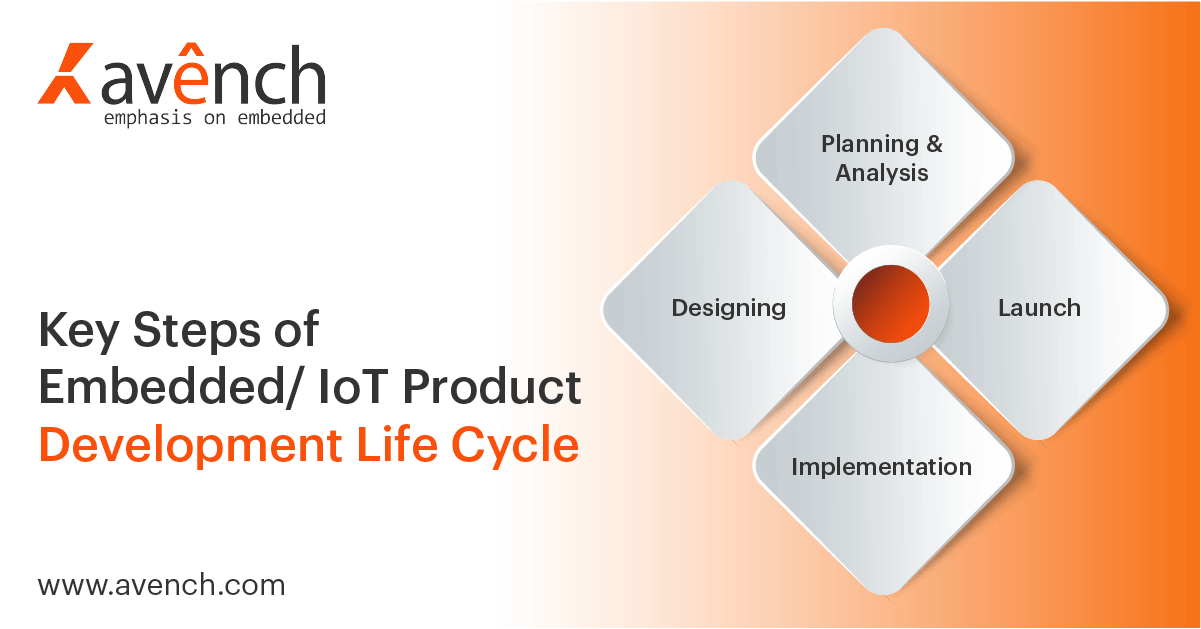
The product development life cycle for IoT and embedded products includes 4 key stages:
- Planning & Analysis
- Designing
- Implementation
- Launch
Stage 1 - Planning and Analysis
The first step of the development life cycle for any product is to clearly define the product/ application idea and transform it into a successful concept.
Before you jump into prototyping or coding, you need a solid foundation. Product planning isn’t just about having a cool idea—it’s about deeply understanding the problem you’re solving and who you’re solving it for.
Key Goals at This Stage:
- Clarify the purpose: Are you building something entirely new, or improving an existing solution?
- Know your audience: Who are your users? What are their behaviors, pain points, and expectations?
- Define the core requirements: What does the product absolutely need to do? What kind of hardware and software does that require?
Analyze the competition: What’s already out there? What can you learn from others—good or bad?
Stage 2 - Designing Embedded Product Development
Focusing on design of the prototype at this stage, you have to choose a development approach that will enable you to successfully implement the product idea within scope and budget.
This is where ideas start to become real. The design phase involves everything from system architecture and component selection to the software stack and the tools you’ll use to build and test your prototype.
What You’ll Be Working On:
- Architecture design: Define how hardware and software will interact. Plan for power consumption, connectivity, and scalability.
- Choose your dev boards: Select reliable microcontroller kits or SoC platforms. Think about I/O options, onboard sensors, wireless modules, etc.
- Pick your tools: IDEs, SDKs, compilers, and operating systems (like RTOS or embedded Linux) that match your project’s complexity.
Build the right team: You’ll need hardware designers, embedded software developers, PCB engineers, and maybe even mechanical experts.
Step 3 - Implementation
Now comes the hands-on engineering work. Your dev team starts assembling hardware, writing low-level code, and building the initial prototypes.
Two Main Prototypes You’ll Create:
- Alpha prototype: This is your first working version—built with development boards or custom PCBs. It helps you test the hardware-software integration and find issues early.
- Beta prototype: A more refined version with added features, better firmware, and design optimizations. Often used for internal testing or limited user trials.
This stage is where functionality meets reality. You might face issues with connectivity, battery life, or sensor accuracy—but that’s expected. The goal is to iron out all the flaws before going to production.
Stage 4 -Launching Product to Production
Once your beta prototype checks all the boxes, it’s time to go live. This doesn’t just mean pressing “go” on the manufacturing line—it means prepping your supply chain, finalizing certifications, and planning your firmware support lifecycle.
What Happens During Launch:
- Final design for manufacturing (DFM) and cost optimization
- Certification for wireless (e.g., FCC, CE) and safety standards
- Setting up production testing and QA procedures
- Rolling out software updates, monitoring performance, and planning long-term support
This phase transitions your device from project to product. It’s where your months (or years) of R&D translate into something that delivers real value to real users.
Why Following the Full Life Cycle Matters
Many embedded product failures happen not because of poor coding—but because of rushed planning, unclear requirements, or inadequate prototyping. A structured life cycle prevents scope creep, missed deadlines, and technical debt.
It also gives you a competitive edge:
✔️ Faster time to market
✔️ Fewer product recalls
✔️ Better user experience
✔️ Lower cost of support
If you’re looking to build reliable, high-performance smart products, this four-stage development cycle isn’t just helpful—it’s essential.
Building the Future, One Embedded Product at a Time
Whether you’re developing a connected wearable, an industrial controller, or a next-gen medical device, embedded product development is a marathon, not a sprint. With the right strategy, tools, and partners, you can bring powerful, intelligent devices to life that don’t just work—they stand out.
Avench is one of the leading embedded companies in the United States. To know more information about embedded product design and embedded systems please subscribe to our blog. For any sales queries, contact us at +1 (775) 404-5757. You can also email us at sales@avench.com – we would be happy to assist you.